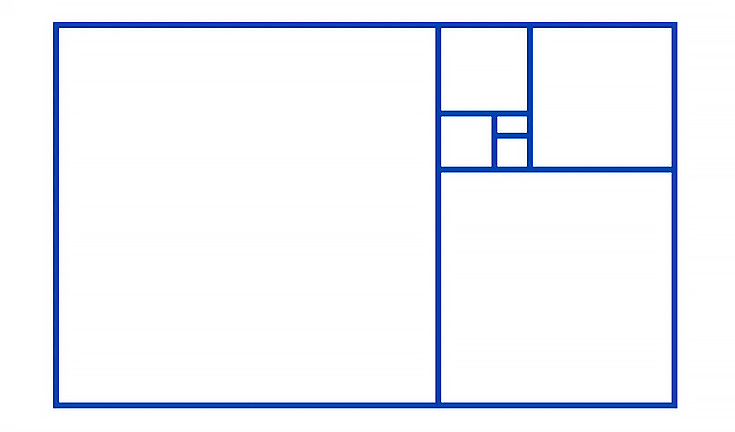
I have recently worked on the program Premiere Pro, to learn how to morph images. Morphing means to smoothly change one image to another by using computer animation skills.
Step 1- Setting up a new project.

First you must open up Premiere Pro and click on new project start, if you open an old project you will click on open Project, however if it is a recent project it will will appear in the recent files on the right side.
Once you click on scratch disks the tab will look like this:

Then you click on scratch disks, like below:

To change the name of the project just click on the top bar and type in you choose name, like the example seen below:

After you make sure everything is set to same as project, you click ok and you are ready to start using Premiere Pro.
Step 2 -Setting the sequence
First go into file, new and sequence, like the example below:


Next make sure That the sequence presets is set to 1080p, AVCHD 1080p25.
Look at the example below:

Step 3- Getting images into Premiere Pro
First make sure you already have pictures at your disposal in a file, next drag the file in to Premiere Pro and drag it in to the bottom left tab in premiere. Shown in the second image below:

Once you drag the file full of images the tab should look like this:

Next you drag the fist image you want to use into the timeline space and it should look like the images below:


Step 4- Morphing images in Premiere
First move the image you have just placed in the time across a bit to make room for something well add later. On the right of the moved image place another image next to it, by using step 3.

 Next go to the top right of the program to find this:
Go into video transitions, then to dissolve and then to Morph cut.
 The you drag the morph cut between the two images in the timeline...
 And then place the Blue line over the morph cut so the program will analyse the background...
 Once its done the image will look like this:
Then you have to render the image but pressing enter, and this will automatically reader the video.
 Step 5- Continue to step 4 for how ever many images you want to add.
Tip one- To resize the image:
Click on on the effects tab shown below:
 Then on motion add you should be able to move and change the size on the image.

Making an animation using squares.
 Step 1-
To make the squares in Premiere Pro first you must go to file, new and colour matte, then it will show the new colour matte tab after you click it. Make sure that every thing is the same as the example below and then click ok, which will bring you to the colour picker where you pick which colour you want you square to be. Then pick a name for your square and it should appear in the media browser, then finally drag it into the timeline.


 Step 2-
To make a black video you have to go to file, new and black video. once you make it you must drag the video into the time line, then stretch the video to how ever long you want the animation to be.


Step 3-
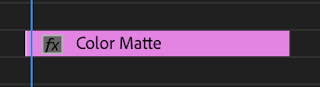 First use the square that you dragged into the time line, drag the blue line to the binging of it and click on the colour to make it turn white.
 After go into effects and effects controls you should see a layout like the example below.

Make sure to the right of the effects control, there is the tab below. If not then click the arrow in the top right corner of the effects control under the word sequence. As you will need this to make the square move.

 Click on the word motion on the effects control tab, and this will allow you to move the square and make it smaller.
 You can them move the square to the very edge of the side that you want it to start moving at, .
 The click on the little clock symbol then to position and scale, after click on motion so you can move the square.
 Before you move the square you must move the blue line along first...
 ... and then you can move the rectangle...
 ... however you have to keep going back to the timeline to move the blue line across until you run out of space to move the blue line on the time line or if the square has reached the other side and it gone.

Countine doing this, with other colours and sized squares until the animation is where you want it. You can keep adding different layers of squares in the timeline.
Exporting Videos
Step 1-
First go to file, new, export and media, it should then bring you to the export settings. For the fist export you have to change the formate to H.264 and then click export.


Step 2-
For the next save you have to go back into the export settings and change the formate to quicktime.

Step 3-
First go into sequence, sequence settings and change the preview files formate to Quicktime, and the codec to Apple ProRes 422 (HQ)...

.... Then go back to file, export and media, change the export settings to Match sequence settings...

... and make sure you click on output name and change it to something you remember and put it somewhere you'll remember.
Changing the opacity of squares
Step 1-
First you have to go to the effects control and then click on opacity, blend mode...

... and then from normal click to change it to any of your choice and keep experimenting until you find the mode that works.


To make a Pattern animation in Premiere Pro first you must draw the patterns on to A4 sheets of paper. Once draw you will have to scan the drawings on to the computer (in three different sizes, 72 , 300 and 600). One thats done bring all of your patterns images into Photoshop for editing and resizing.
 Once in photoshop with one of the patterns inside the program, use the lasso tool to take a piece of the image and copy it to a new photoshop save file. From there you can move it and change but as you go save it as a still image, you have to then repeat this until you have 100 still images.
Step 2 -Putting it in premiere pro.
 When you have all of your still images of the patterns, open up Premiere pro and import them into the programme.
 Before you start you have to make a new sequence. First go to file, new and sequence and click create sequence.
 Once you have a sequence you can then go to file, new and black video. Once you have to black video you drag it into the sequence.
 After you have the black video you can start adding the Still images of patterns:


Step 4- Morphing images in Premiere
First move the image you have just placed in the time across a bit to make room for something well add later. On the right of the moved image place another image next to it, by using step 3.


Go into video transitions, then to dissolve and then to Morph cut.


Then you have to render the image but pressing enter, and this will automatically reader the video.

Tip one- To resize the image:
Click on on the effects tab shown below:


To make the squares in Premiere Pro first you must go to file, new and colour matte, then it will show the new colour matte tab after you click it. Make sure that every thing is the same as the example below and then click ok, which will bring you to the colour picker where you pick which colour you want you square to be. Then pick a name for your square and it should appear in the media browser, then finally drag it into the timeline.


To make a black video you have to go to file, new and black video. once you make it you must drag the video into the time line, then stretch the video to how ever long you want the animation to be.


Step 3-
 First use the square that you dragged into the time line, drag the blue line to the binging of it and click on the colour to make it turn white.
 After go into effects and effects controls you should see a layout like the example below.

Make sure to the right of the effects control, there is the tab below. If not then click the arrow in the top right corner of the effects control under the word sequence. As you will need this to make the square move.

 Click on the word motion on the effects control tab, and this will allow you to move the square and make it smaller.


Exporting Videos
Step 1-
First go to file, new, export and media, it should then bring you to the export settings. For the fist export you have to change the formate to H.264 and then click export.


Step 2-
For the next save you have to go back into the export settings and change the formate to quicktime.

Step 3-
First go into sequence, sequence settings and change the preview files formate to Quicktime, and the codec to Apple ProRes 422 (HQ)...

.... Then go back to file, export and media, change the export settings to Match sequence settings...

... and make sure you click on output name and change it to something you remember and put it somewhere you'll remember.
Changing the opacity of squares
Step 1-
First you have to go to the effects control and then click on opacity, blend mode...

... and then from normal click to change it to any of your choice and keep experimenting until you find the mode that works.

To make two or more squares look like this:

Making a pattern Animation.
Step1- Patterns and Photoshop

Step 2 -Putting it in premiere pro.